Using Zsh to build a productive developer terminal experience
One of the first things I do on any new computer is set up my terminal. This blog post is simply a reference guide for myself, listing the tools and config required for my perfect setup.
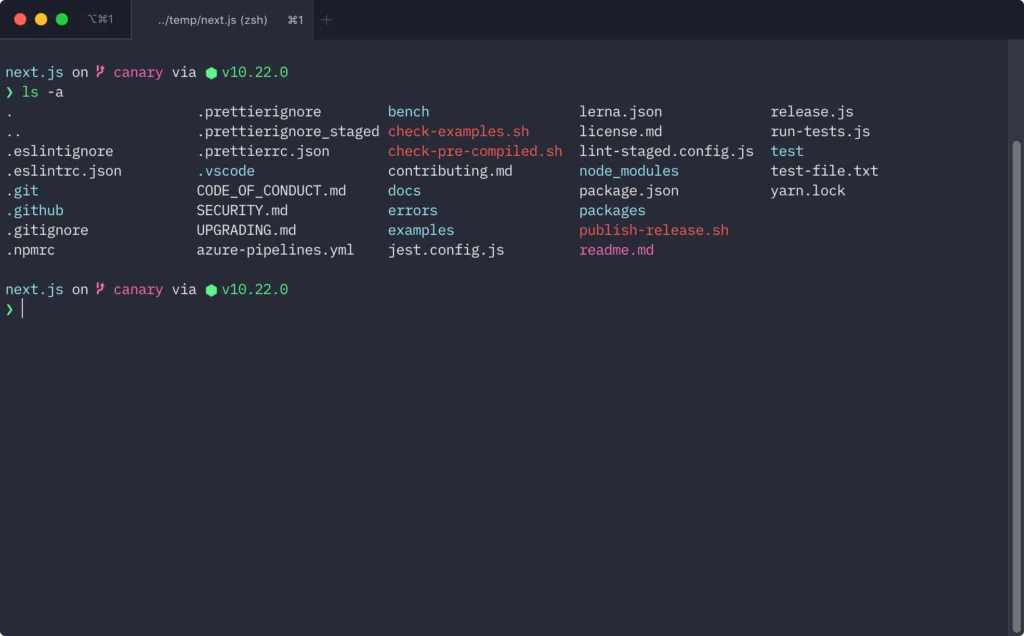
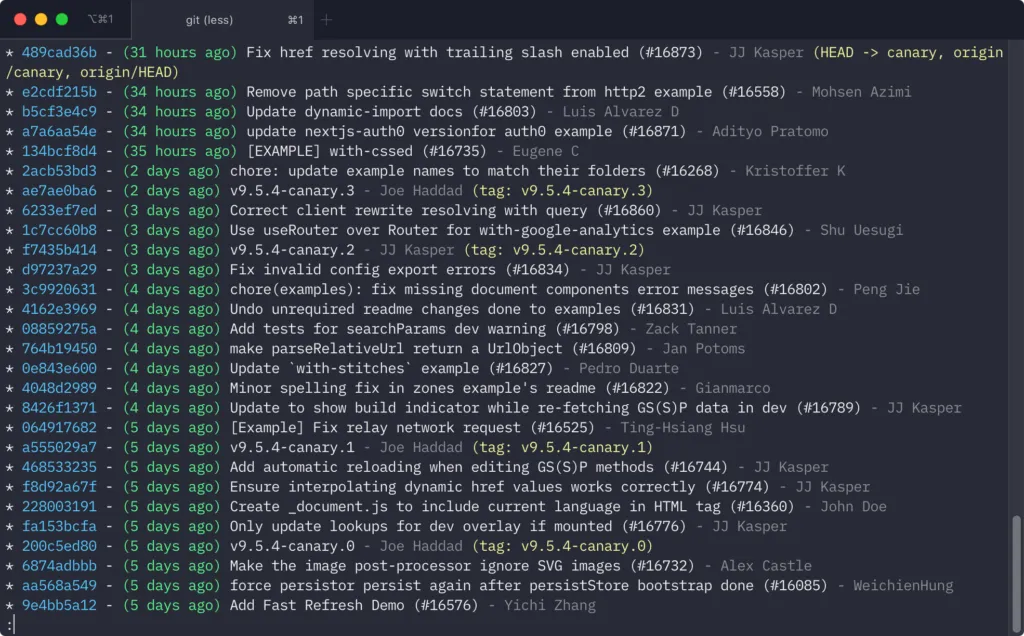
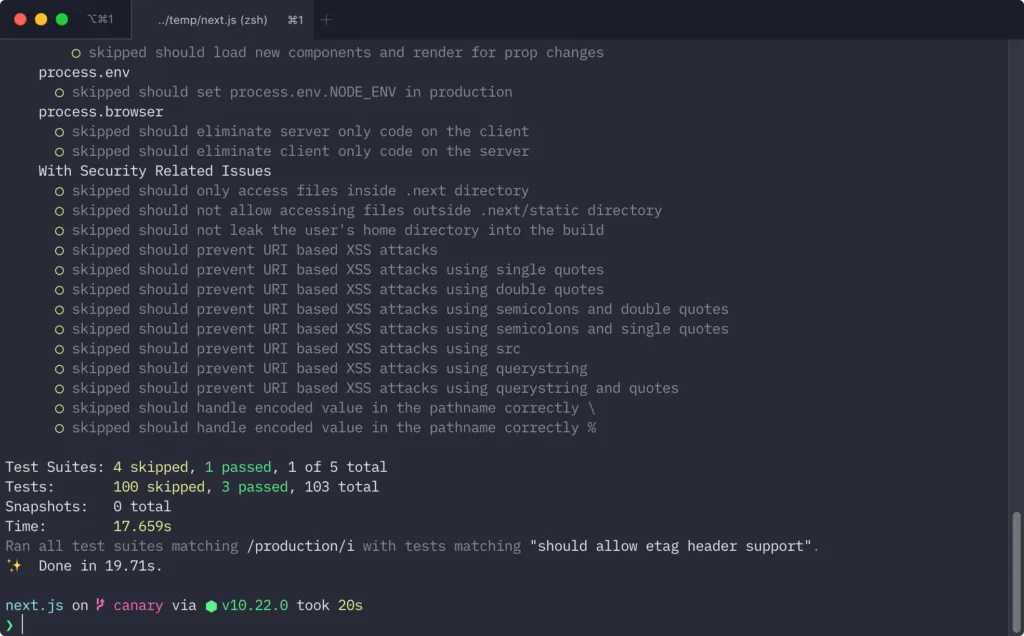
For me, this setup is productive and colorful, yet information dense, giving me the everything I need at a quick glance.
If you want to build your own interface similar to this, and have no idea where to start, I recommend Wes Bos’ course “Command Line Power User”, or his related blog post on Smashing Magazine as a jumping off point.
Required links
Optional extras
Setup steps
- Check you’re using Zsh terminal, which is the default on macOS, starting with Catalina (10.15)
- Install Oh My Zsh
- (Optional) Add the z (for “frecent” folder jumping), zsh-autosuggestions, zsh-syntax-highlighting plugins to your
.zshrcfile - Install Starship and and
eval "$(starship init zsh)"to the end of your.zshrcfile - Create a config file for Starship
- (Optional) Configure iTerm2 to use Snazzy theme and BlexMono nerd font
Screenshots